Makgeolli: Of Course!
My First Batch
I was sitting in my office with my officemate while I was working my semi-corporate job. He had recently come back from Korea on a trip, and we were drowning in work! I’m staring at my computer, and he suddenly says aloud, “You know — someone should make a 막걸리 (makgeolli) place here.” Immediately I looked up from my computer and said, “I am perfect for that job”.
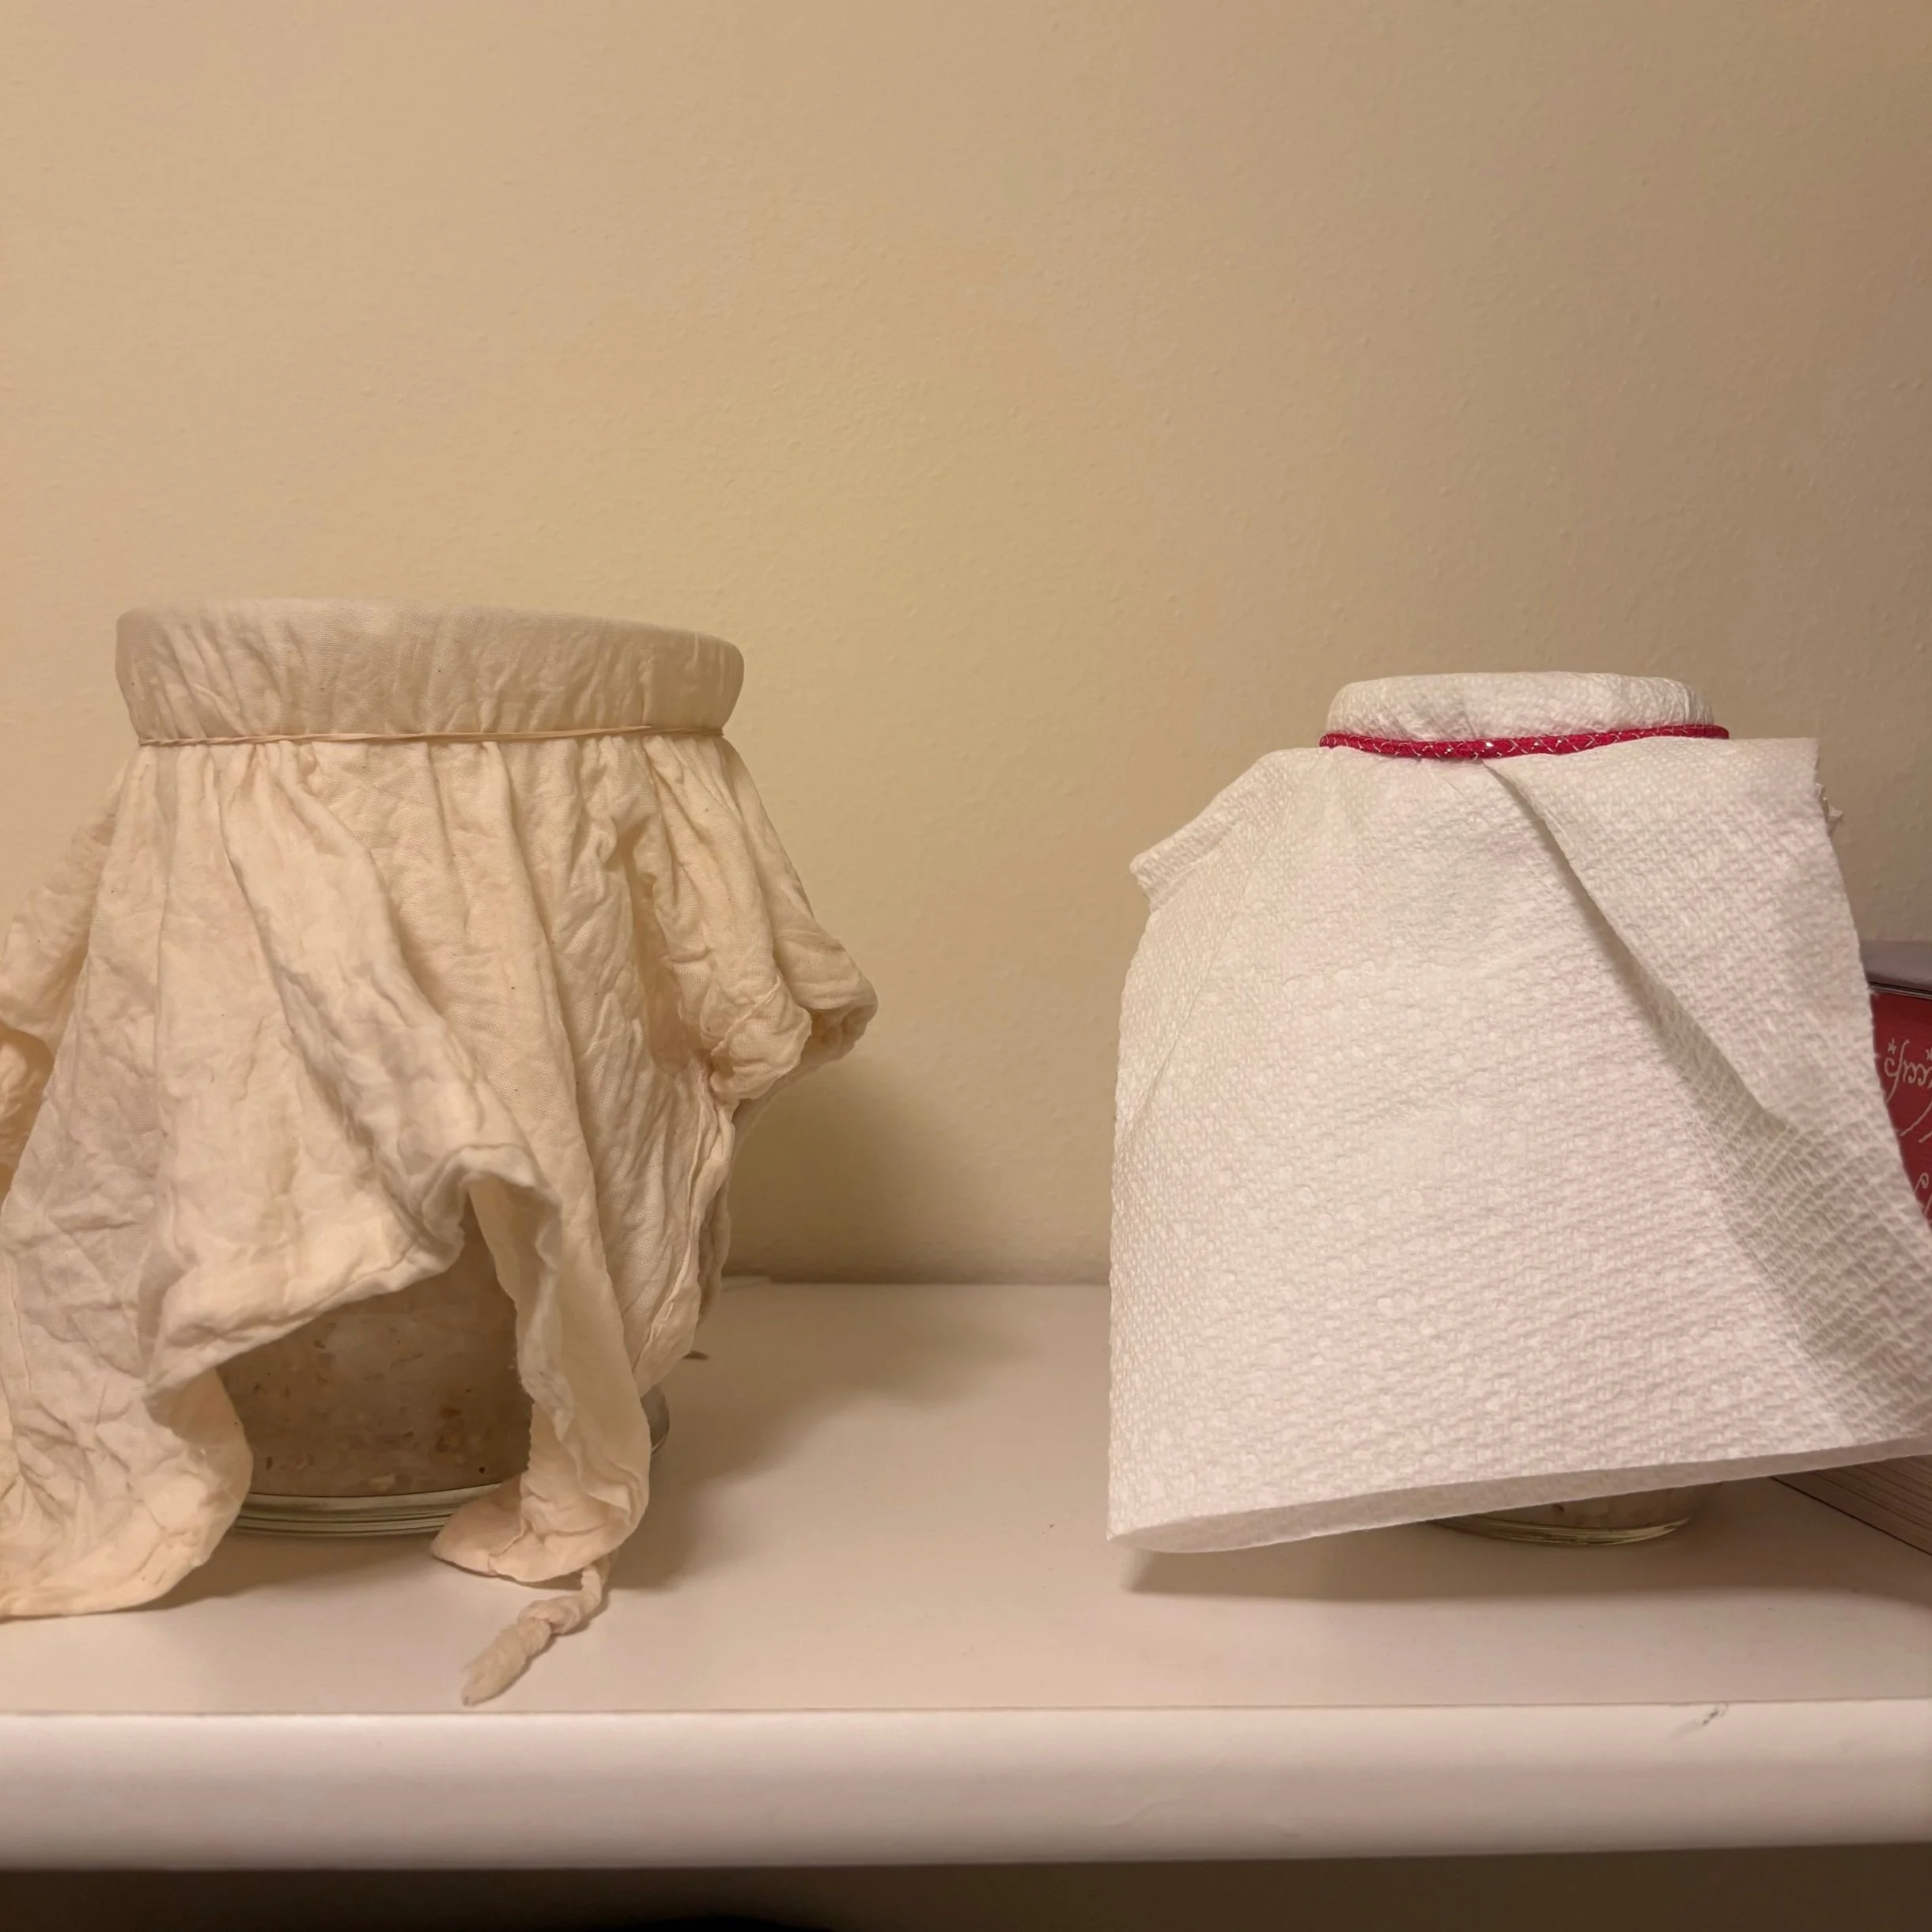
I got a spark, and the rest is history. The photo on the left is a picture of my first ever batch fermenting in my small studio apartment in Madison. I didn’t have the proper tools, but I knew I just had to keep moving forward. The batch successfully fermented into that sweet rice wine smell of our MadMak! (although if I’m being honest, I had to throw this batch away due to some mold, soo that goes to show to definitely make sure you get the proper equipment and sanitize your surfaces/containers!)
How to Make Makgeolli
🍶 Quick Overview
Ingredients:
- White rice (short or medium grain, non-glutinous preferred)
- Water
- Nuruk (Korean fermentation starter — contains natural yeast, lactic acid bacteria, and enzymes)
- Optional: yeast (for control), sugar (to taste)
Equipment You'll Need:
- Large mixing bowl
- Steamer or rice cooker
- Fermentation vessel (glass jar, onggi, or food-safe plastic bucket)
- Cheesecloth or fine strainer
- Sanitized bottles for storage
- Thermometer (optional but helpful)
🧾 Step-by-Step Guide
Day 1: Cook and Cool the Rice
1. Rinse rice 3–4 times until water runs mostly clear.
2. Soak rice for 2–3 hours, then drain.
3. Steam the rice (don’t boil — you want the grains to stay separate).
- Steaming time: ~40 minutes.
4. Cool the rice completely to room temperature (important so it doesn't kill the nuruk).
5. In a clean container, combine:
- 2 parts cooked rice
- 1 part crushed nuruk
- 2 parts water (filtered or boiled + cooled)
Example:
- 2 cups steamed rice
- 1 cup nuruk
- 2 cups water
6. Mix thoroughly with a clean hand or utensil. It should feel like a thick porridge.
7. Optional: Add a pinch of baker’s yeast (to ensure fermentation starts consistently).
Day 2–7: Fermentation Begins
8. Cover the container loosely with a cloth or lid (it needs to breathe).
9. Store in a warm, dark area (65–75°F / 18–24°C).
10. Stir once or twice a day with a clean utensil to keep the rice submerged.
💡 You'll start to hear bubbles and smell a sweet-sour aroma after 1–2 days.
Day 7+: Strain and Bottle
11. After 5–7 days, strain the mixture through cheesecloth or a mesh strainer.
- Use your hands to press out all the liquid (this is your makgeolli!).
12. Optional: Add sugar or honey to taste, and stir well.
13. Bottle the liquid in sanitized containers.
- Leave some space for carbonation if bottling airtight.
- Chill in the fridge to slow fermentation.
🧊 Aging & Enjoying
Wait at least 1–2 days in the fridge before drinking — the flavors mellow and mature.
Serve cold, stirred (or gently shaken), and traditionally poured from a kettle into shallow bowls.
💬 Notes & Tips
- Nuruk is key: It provides both enzymes and wild microbes for authentic flavor.
- If your brew smells rotten or extremely foul (not just funky), discard and start over.
- Want drier or stronger makgeolli? Let it ferment 10–12 days.
- Want it fizzy? Bottle before fermentation fully finishes — but watch for overcarbonation!